A label was created using a word processor.
This design includes a place for the name of the member who pieced the front and the name of the member who quilted the project.
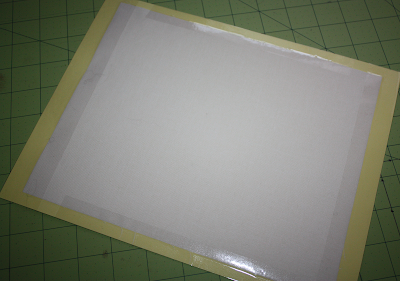
Cut your fabric for the label to 7.5"x10". The starch is optional. I spray a Light Body Magic Sizing Fabric Finish to slightly stiffen the fabric for the printer. Tape the fabric to the card stock. Make sure the side that feeds into the printer is completely taped down so the fabric or fabric strings do not wrap around the printer rollers.
My printer prints by feeding the paper face down. I tape the sides because of this. Test your printer for correct feeding by marking the top front with a word or mark then print a test paper page.
Load your fabric lined page in to match the orientation of your printer. Print the fabric lined page when ready.
After printing carefully remove tape. The packaging tape comes up very easily from the fabric.
Iron the label to set the ink into the fabric.
This label is going to be pieced into the backing like a block. You can either piece the labels into your backing or hand stitch to the back.
The Bee Mine Sewing Bee takes orphan blocks donated by guild members and creates backs for the guild's charity quilts. If you would like to donate any left over blocks from your stash to the process bring them to any guild meeting.
There are other methods to feed fabric through your printer including exchanging the card stock/tape method with wax paper.
Have you tried this method or others? Which method do you prefer?


No comments:
Post a Comment